Photography can be easy especially if you know how to avoid these common travel photography mistakes.
Last updated: March 6, 2026
Travel Photography
I have always been fascinated with photography. My first photo attempts were down on an old film camera. Now it feels like ages ago. But that experience changed my world forever. A camera has become my constant travel companion.
Getting a new camera also marked the beginning of my travel photography mistakes. I made tons of them. And although I’ve been taking pictures for years now, these 10 travel photography mistakes still sneak in my “work flow” from time to time.
THE MOST COMMON TRAVEL PHOTOGRAPHY MISTAKES TO AVOID
1. Relying on Auto Mode
Relying on auto mode was by far the biggest travel photography mistake I made after purchasing my first DSLR camera. It was easy to use, and the pictures seem to be quite ok. So, for a year or so I shoot solely on the auto mode. The waking point happened while shooting a sunset in Joshua Tree National Park. I used my new DSLR camera, but the pictures were nowhere perfect. In fact, they turned out rather pale, overexposed, and lost all the colors.
I felt sick to my stomach when I saw images of that same sunset on my Roshan’s iPhone. They were as close to reality as it was possible. I knew right there, it was time to say goodbye to the auto mode and my biggest travel photography mistake at that time.
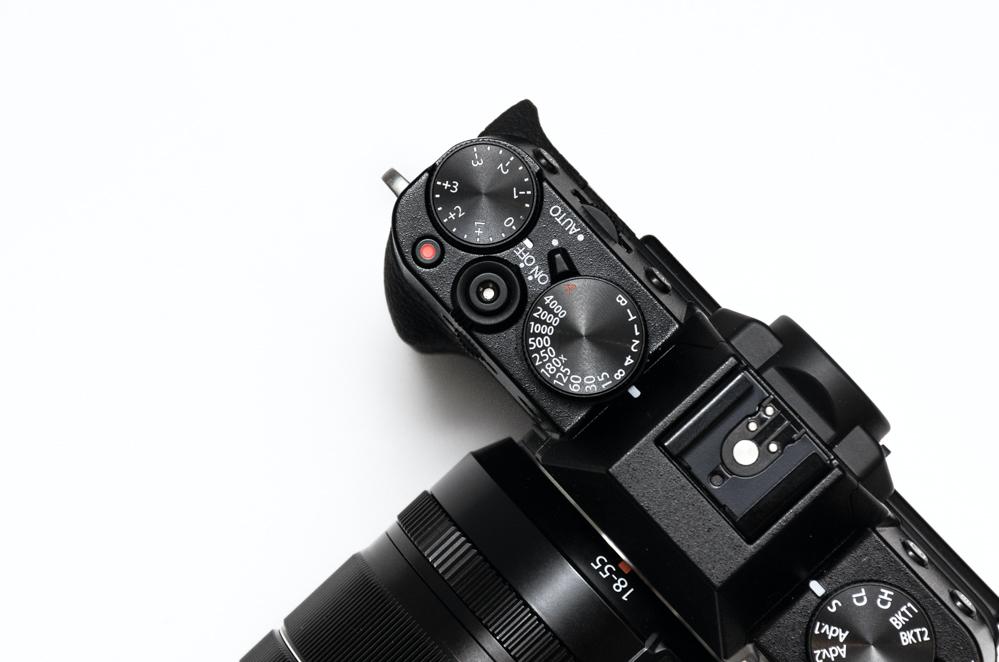
2. Using High ISO
Overusing ISO was from the series of my next favorite travel photography mistakes. A bit of ISO is good. The ISO over 300-400 can add more noise to your travel pictures. Simple.
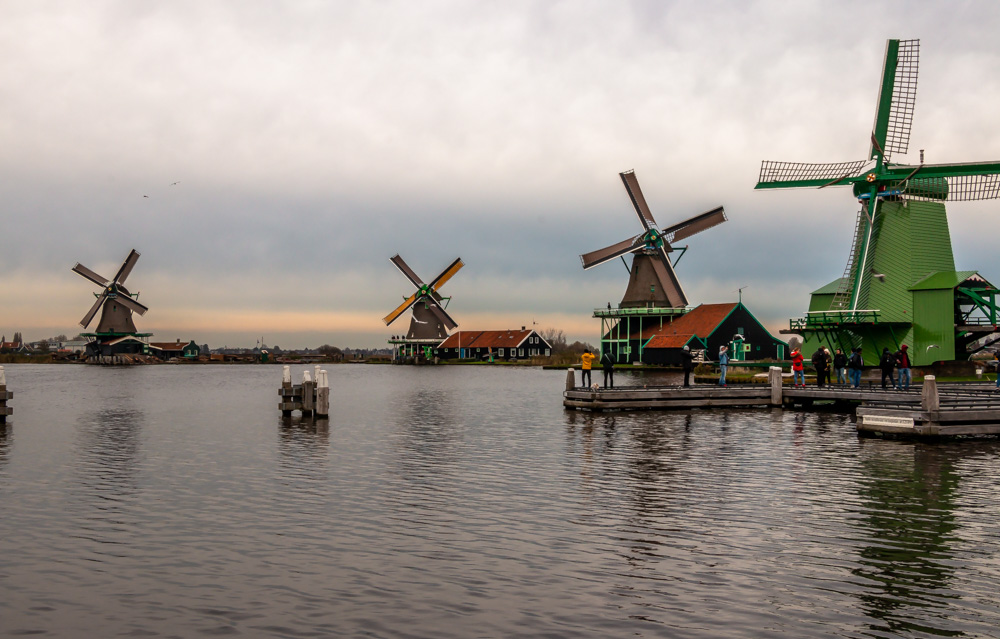
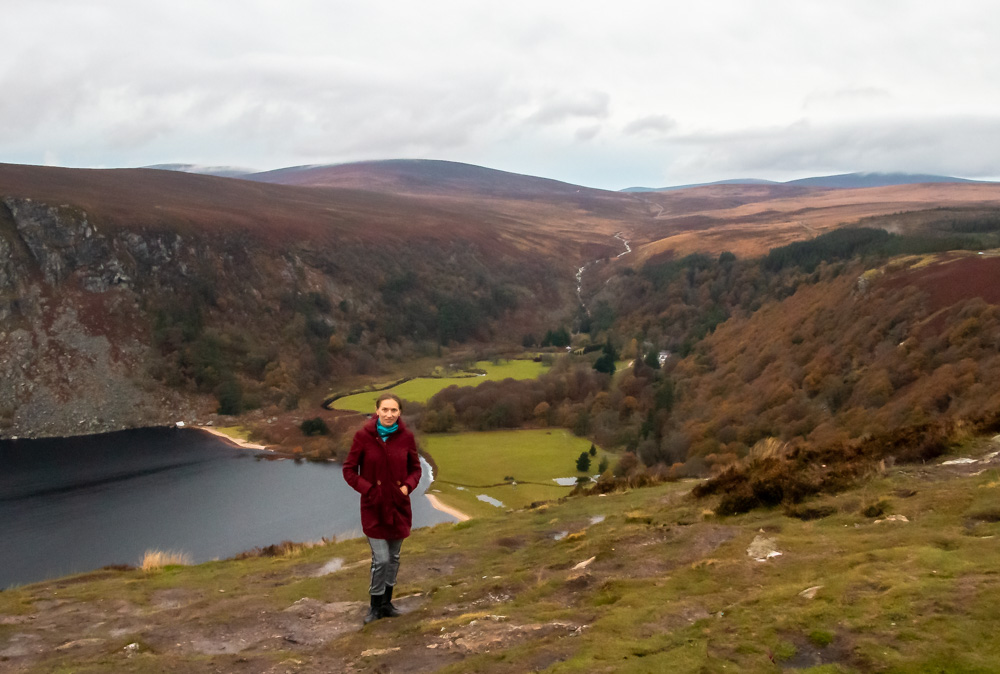
Yet during my latest big trips to Ireland and the Netherlands, I didn’t have too much time to play around with my camera settings. Instead of lowering my ISO to 100, I accidentally switched it to auto. The results were dreadful.
Using high ISO is one of the biggest travel photography mistakes when shooting in low light. As a rule of thumb, the higher ISO, the more noise you get. Keeping your ISO below 400 barely impacts your travel photography. The ideal number, though, is 100 for the noise-free pictures.
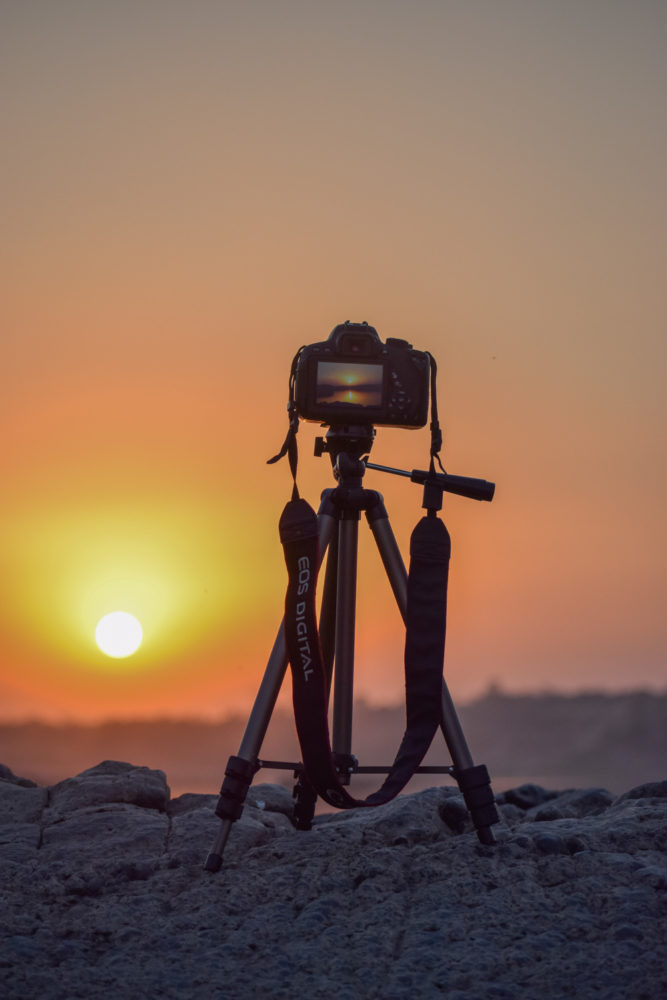
3. Not Using Tripod
If I need to name just one thing I’ve learned from my travel photography mistakes it would be not using a tripod. It’s a must-have tool for your travel photography even when you travel with somebody who can take good pictures of you.
Most of the time I travel with Roshan, and I’m pretty comfortable posing in front of him. But this guy simply can’t keep the camera straight. His hands seem to always shake a bit. It’s impossible to notice with your bare eyes. But these tiny hand movements are more than enough for the camera to register.
And as expected, the majority of pictures he takes are out of focus. To give you a better picture, out of 100 photos taken by him, roughly 80-85 lack sharpness. With that said, always use a tripod to eliminate blurry pictures, especially when you shoot in low light, and avoid the most annoying travel photography mistakes.
READ MORE: How to Take Amazing Photos while Traveling Solo
4. Not Checking Your Camera Settings
Remember, my pictures from Ireland and the Netherlands? They had lots of grain. Yes, the ISO was high. And yes, I failed to double-check my camera settings, which was one of the biggest travel photography mistakes during that trip. The worst thing was I didn’t have another chance to go back to that place the next day to retake the pictures.
5. Not Giving Enough Instructions
Assuming that people understand that the purse you just took off your shoulder and put aside is not supposed to be in the frame is easily one of the most common travel photography mistakes. You and the person taking a picture of you have different understanding of the photography. When you strive to have as few people in your travel pictures as possible, the other person might see the crowds as part of his or her travel experiences.
The solution is simple, to avoid some obvious travel photography mistakes when asking another person to take a picture of you, please do instruct him or her how you want your photos to be.
6. Not Taking Enough Photos
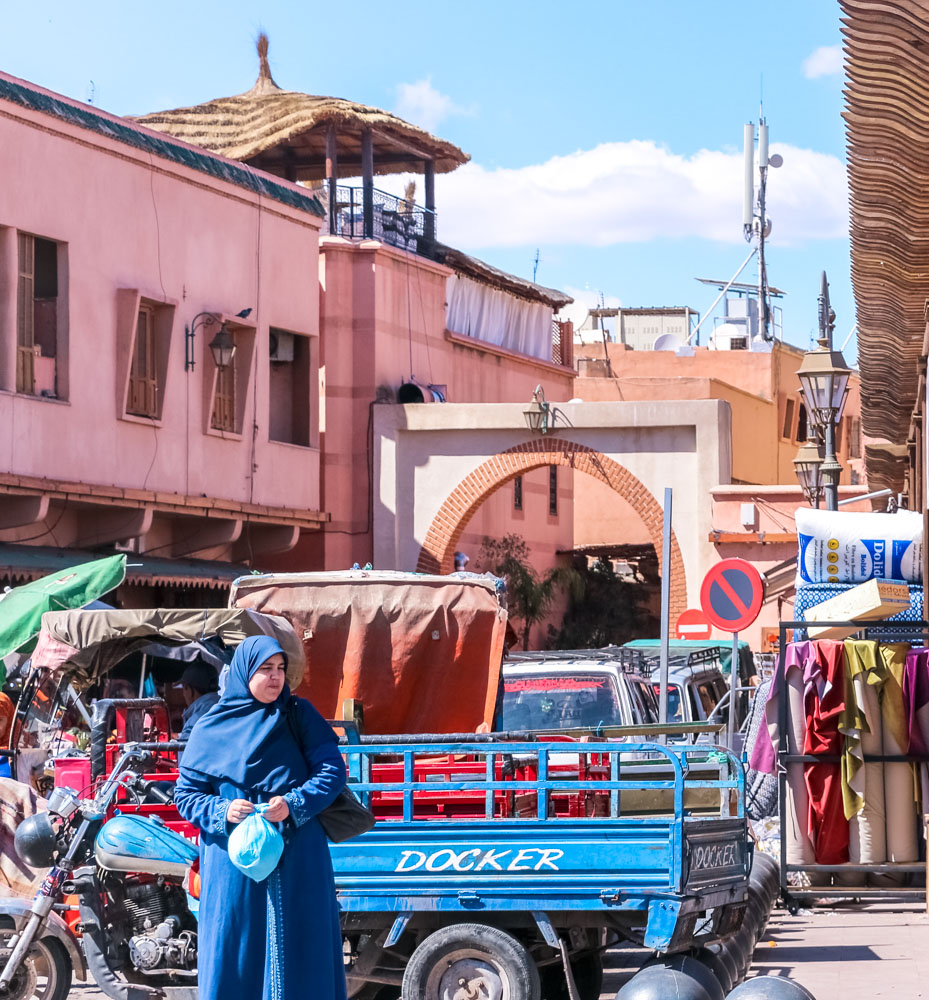
I wish I took more pictures during our visit to Marrakech. Fearing some disapproval and resentment from locals, I was rather shy with my camera. Looking back, I regret not taking more photos of the streets, architecture, and even food.
7. Failure to Make Communicate More with Locals and Other Travelers
How can this lead to common travel photography mistakes? Very easily. If you focus on documenting locals and their lifestyle in your travel photography, you need to see more real, non-touristy places. And who is better to accommodate you with this task than not locals?
But guess what, nobody is going to help you just because you carry a big camera. You need to make new friends in a new place you are visiting. Even to take a portrait of the friendliest merchant in the souks of the Medina Marrakech, you need to ask for permission. Remember, people may get upset if you take pictures of them without asking first.
On the other hand, hesitating to ask a stranger to take a picture of you can leave you with some “impersonal” travel images.
8. Shooting Only in JPEG
I’m guilty of doing it for a long time. Call it one of my “favorite” travel photography mistakes. JPEG is, in no way, bad, but shooting in RAW is essential, especially if you edit your travel photos afterwards. RAW is a file format that captures all image data, and since the importation is not compressed, you’re able to produce the higher quality images. To open your RAW images, though, you need to use different programs such as Lightroom, Photoshop, etc.
Shooting in JPEG or RAW is honestly a matter of preferences and how comfortable you’re with editing your photos. I prefer to shoot in both RAW and JPEG. This way, I keep all the details of the images and have instant access to my photos if I need it.
9. Keeping Your Aperture High
The higher aperture, the sharper your photos, right? Wrong. And it might be the most confusing travel photography mistake ever. Ironically, the sharpest aperture of your lens, also known as the sweet spot, is located two to three f/stops from the widest aperture. Thus, the sharpest aperture is somewhere between f/8 and f/11. This travel photography mistake cost me many not particularly sharp photos.
10. Failure to Arrive before the Crowds
It’s one of the most common travel photography mistakes, and yet, we still make it. Sleeping in sounds good, but it can cost a lot when you have only one chance at that particular destination. To succeed at your travel photography, you may want to build a few new habits. Waking up early – often before sunrise – may be one of them.
READ MORE: How to Keep a Healthy Routine while Traveling